- Home
- INP
- Inventory
- Inventory management
- Pick & put tasks
Pick & Put Tasks
In this sub process, Creation of worker record with available resources for pick and put operations, is discussed
For this sub process, some setup is needed as follows
- Creation of Work Calendar and time off
- Navigate to -> Admin -> Customizations -> Business Calendar.
- Redirects to list page of Business Calendar.
- Click on -> Create button.
- Add Name
- Set type as Work Time
- Add Start Date and End Date
- Add Start Time
- Add Hours Per Day
- Click on -> Save button
- Navigate to -> Time off tab, Click on -> Create button
- Set type
- Set from date and to date (if selected type is Specific Period)
- Select days of week (if selected type is Specific Days)
- Set time period
- Set start time and end time
- Add Name
- Click on -> Save and Close button
- Redirects to Business Calendar's details page
- Set Status as Final
- Click on -> Save or Save and Close button
- Create personnel record for creating user type resource.
- Navigate to -> Menu Category.
- Select Job Set Up menu category.
- Navigate to -> Job Set Up
- Navigate to -> Job Title -> Click on -> Create button
- Add -> Basic details and save and close the record
- Navigate to -> Job setup -> Department
- Click on -> Create button
- Add -> Basic details and save and close the record
- Navigate to -> Personnel -> Personnel
- Click on -> Create button
- Add -> First Name, Last Name, Type, Employee code, Joining Date, Employment type, Employment status in Basic Section
- Add -> Personnel Details
- Select -> Job Title and Department
- Click on -> Save and close button
- Create Resource and bind resource calendar to resource.
- Navigate to -> Menu Category.
- Select Project menu category.
- Navigate to Project -> Resource
- Displays list page of Resources. click on -> Create button
- Redirects to create page on “Details” tab -> Type Name
- Select -> Type of resource – User, Equipment or Vendor
- Based on type selection select the user or vendor
- Add the Capacity and Hourly Host of resource and save the record
- Navigate to -> Availability tab.
- Add Resource Time Off
- Navigate to -> Competence tab
- Add Work Calendar
After completing setup and to create resource job please refer steps given below
- Navigate to -> Menu Category.
- Select Inventory menu category.
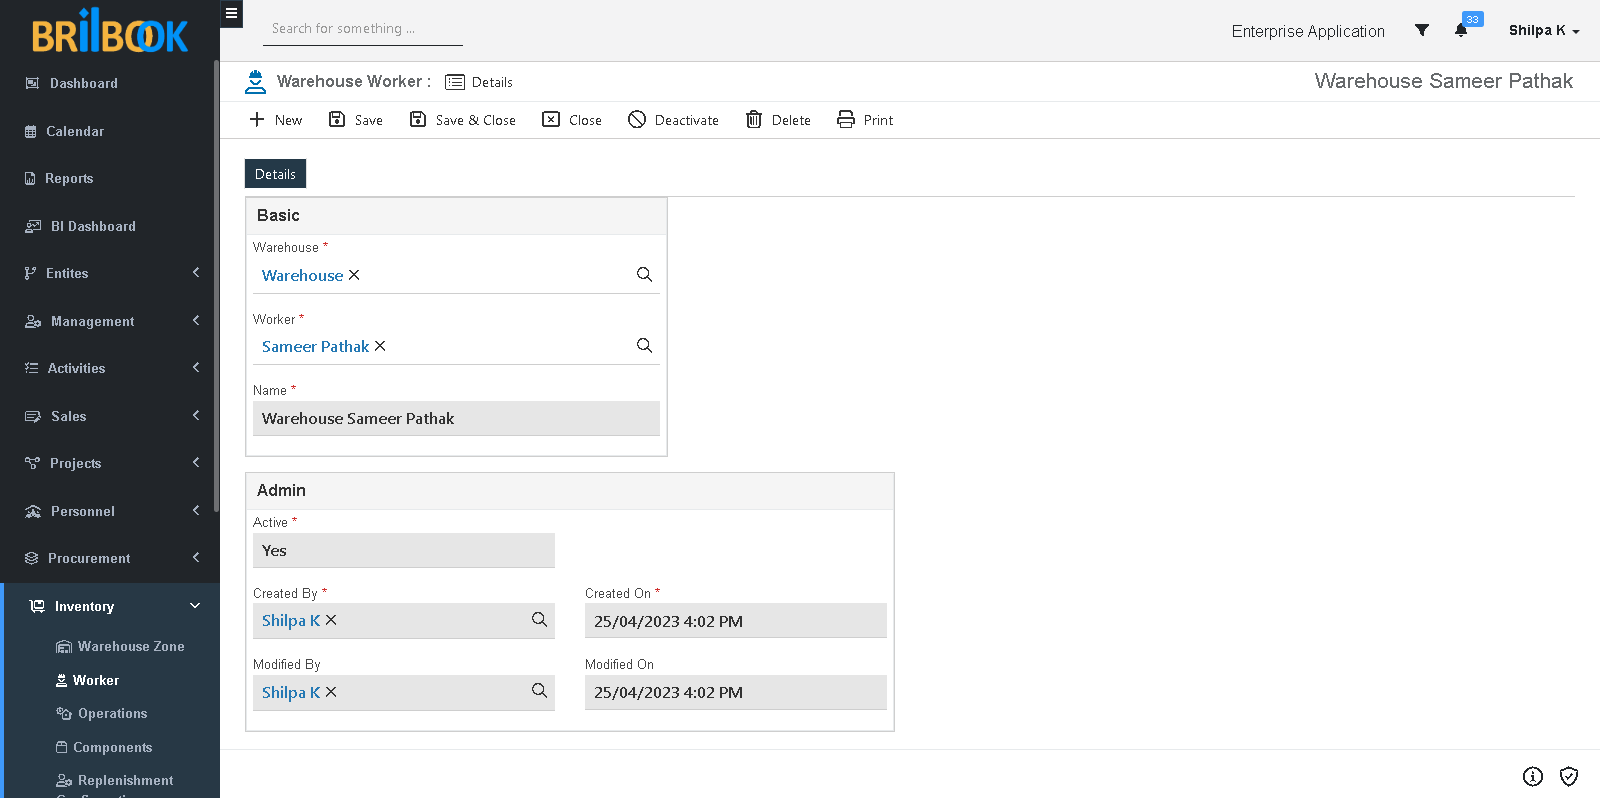
- Navigate to -> Inventory, click on -> Worker

- Redirects to list page of warehouse worker, click on -> Create button

- Redirects to create page of worker, select -> Warehouse (for which worker is required)
- Select -> Worker (resource)
- Click on -> Save or Save & Close button